Plataforma de Educação Humanizada

Torne-se Membro

Rock Tumbling Lesson

Disciplina: Science
Ano escolar: 3rd | 4th
Tipo de Recurso:
Tags:

Materials Required:

Rock tumbler
Rough stones (collected or purchased)
Nature walk location (e.g., creek, beach, hill, or rocky area)
Research materials on local geology
Magnifying glasses (optional)
Paper and pencils for note-taking
Steps Involved:

Preparation: Research the local area’s geology, including its special features, climate, and weathering factors. Prepare information on how these conditions influence the types of rocks found in the area.
Nature Walk/Collection: Take the students on a nature walk to a nearby creek, beach, hill, or other rocky area to collect different stones. Ensure that the collection is permitted in that area. If a field trip is not possible, provide the students with a bag of various rough stones for examination.
Examination: Discuss and examine the collected rocks, noting their color, texture, density, size, and shape. Introduce students to different substrates like stones, boulders, pebbles, and sand, and explain their differences.
Discussion: Discuss the different types of rocks collected and how they are formed. Tailor the discussion to the age group; focus on colors, sizes, textures, and basic weathering effects for younger children.
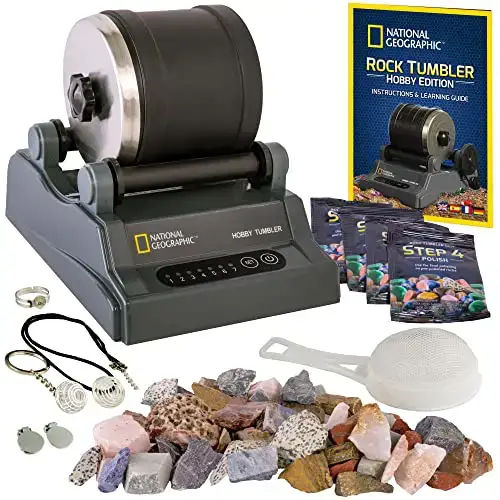
Rock Tumbling: Place the collected or purchased stones in the rock tumbler. Explain how the tumbling process simulates natural weathering. Run the tumbler for the recommended time.
Observation: After the tumbling process, compare the rocks’ appearance before and after. Discuss how the rocks have changed in terms of smoothness, shine, and overall appearance.
Reflection: Have students write a brief reflection or share verbally about what they learned from the experience, focusing on the rock changes and the geological concepts discussed.