Plataforma de Educação Humanizada

Torne-se Membro

Name That Landform with Play Doh

Disciplina: Art | Geography
Ano escolar: 1st | K level
Tipo de Recurso:
Tags:

Play Doh (various colors)
Recording pages (worksheet)
Pencils or markers
Paper for drawing diagrams
Preparation:

Provide each pair of students with Play Doh, recording pages, and drawing materials.
Prepare a worksheet for students to record the features of their landform models (optional).
Introduction:

Discuss different types of landforms (e.g., mountains, valleys, plateaus, hills, etc.) and their key features.
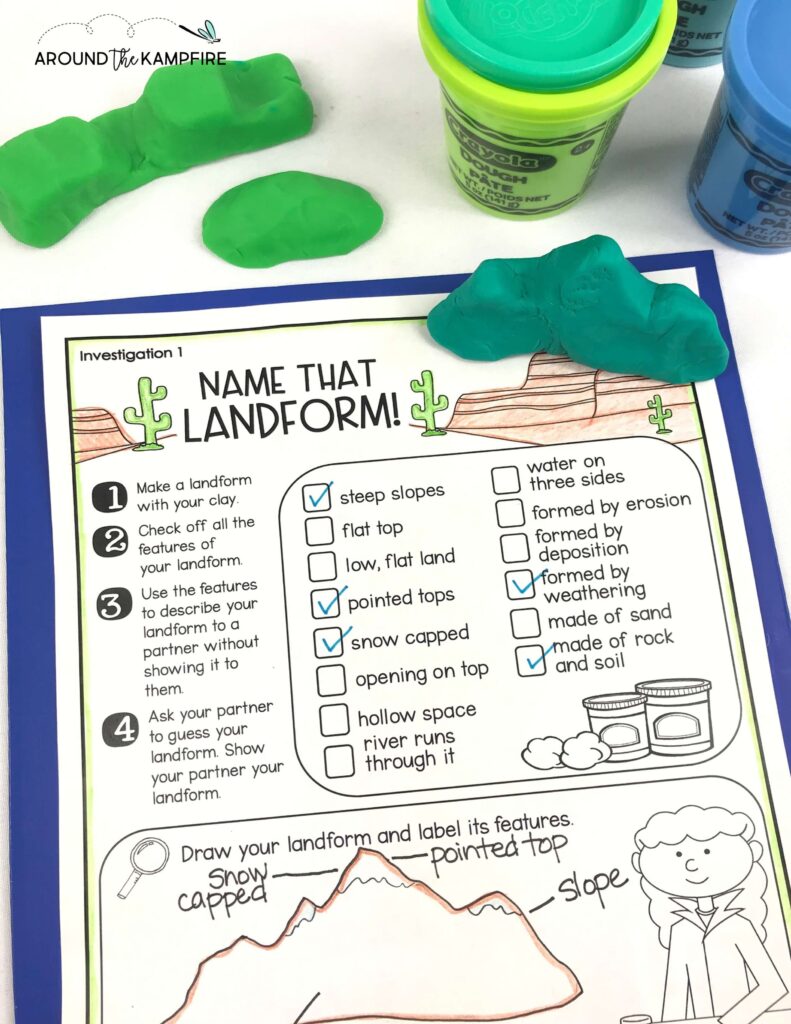
Explain the activity: students will create landforms using Play Doh, draw diagrams, and describe their landforms to their partner.
Activity:

Creating Landforms:
Each student molds a landform using Play Doh, focusing on including distinctive features.
Recording Features:
Students use their recording pages to note the features of their landform model (e.g., height, shape, slopes).
Drawing Diagrams:
Students draw a diagram of their Play Doh landform model on paper, labeling key features.
Describing Landforms:
Each student takes turns describing the features of their landform model to their partner without showing it.
The partner guesses which landform it is based on the description.
Revealing Models:
After guesses are made, students reveal their Play Doh landform models and discuss the features.
Conclusion:

Discuss the activity as a class, highlighting any interesting observations or challenges encountered.
Reinforce the importance of descriptive language and clear labeling in understanding and identifying landforms.
Extension:

Have students compare and contrast their landform models with those of their peers, noting similarities and differences.
Introduce additional landforms or features for students to incorporate into future models.