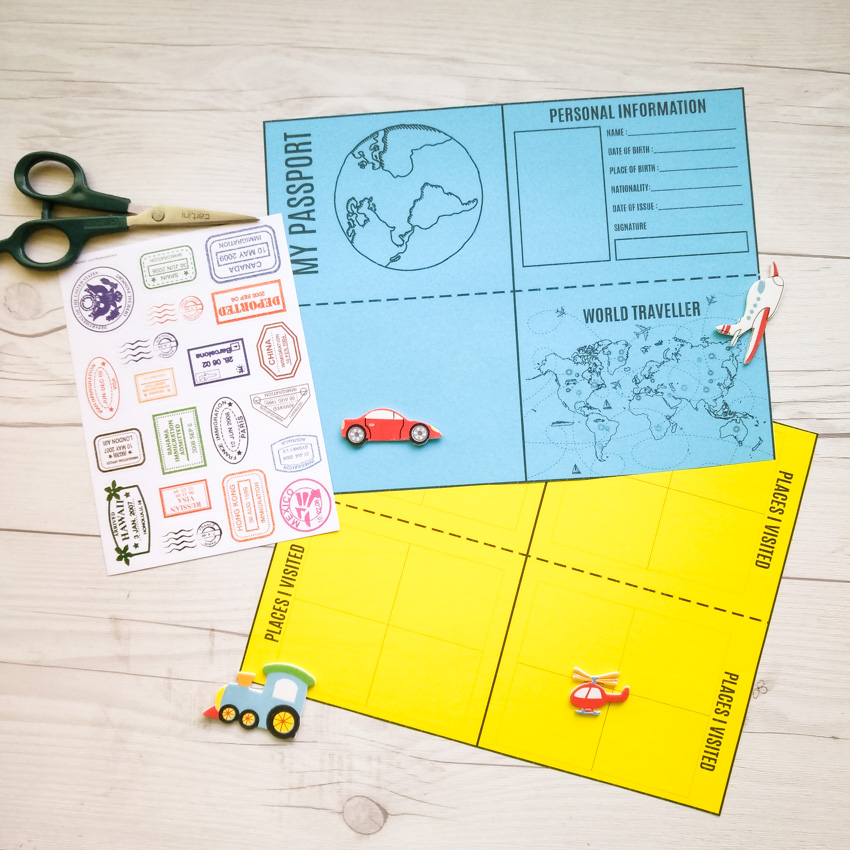
Materiais necessários
- Colored Construction Paper (Blue for the cover, Yellow for the inside pages)
- Scissors
- Glue Stick
- Travel Stickers (optional)
- Colored Pencils or Markers (optional for decoration)
- Ink Pads and Passport Stamps (optional for stamping)
Step 1: To Create the Cover
- Cut a piece of blue construction paper to the desired size for the passport cover.
- Fold the paper in half to create the cover of the passport.
Step 2: Craft the Inside Pages
- Cut yellow construction paper into smaller pieces for the inside pages.
- Fold each piece of yellow paper in half to match the size of the cover. You can use blank pages or write “Places I visited” on the top of each page.
Step 3: Assemble the Passport
- Stack the folded yellow pages on top of each other.
- Place the blue cover at the bottom of the stack and staple along the folded edge to bind the pages and cover together.
Step 4: Personalize
- Time to decorate your passport! You can use colored pencils, markers, stickers, or stamps to embellish your passport and create a unique design.
Step 5: Fill in Information
Encourage your child to fill out the personal information page with details like date of birth and place of birth. They can attach a photo or draw a self-portrait.
Using the Passport
- For older kids, use the passport to “stamp” it for each country studied or explored.
- Teachers or parents can use it as a tool to learn about each country’s capital, language, and location on a map.
- For younger kids, the passport can be used to record vacation experiences, daily activities, or creative drawings.
Reflection:
Discuss with your child what he/she has learned about the different countries and how the passport helped them keep track of their exploration and creativity.