Large sheets of paper or poster board
Colored pencils, markers, or paints
Ruler
Pencil
Eraser
Reference materials on heraldry (optional)
Introduction to Heraldry:
Explain the concept of heraldry and the historical importance of coats of arms. Discuss the different elements such as shields, crests, supporters, and mottoes.
Introduce basic symbolism and colors used in heraldry. For example, gold represents generosity, red symbolizes warrior qualities, and a lion might represent bravery.
Design Your Coat of Arms:
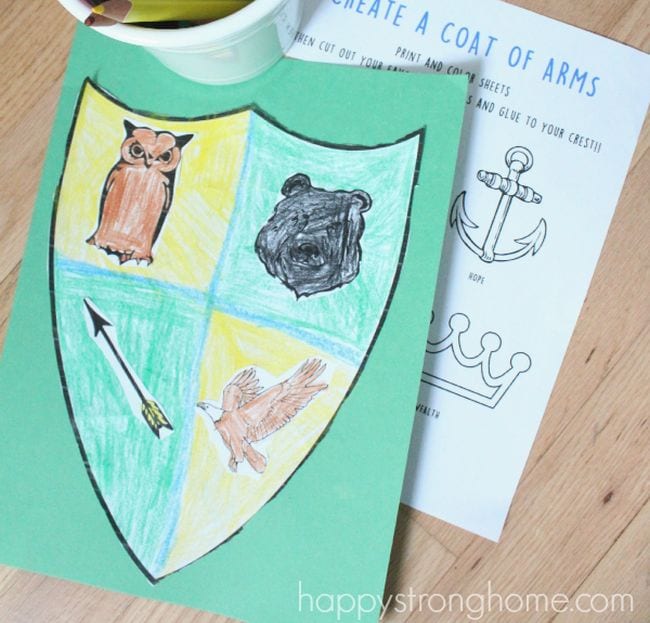
Shield Shape: Begin by drawing the shape of the shield on a piece of paper. This is the central element of the coat of arms.
Symbols: Choose symbols that represent personal traits or interests. For example, a book for a love of reading, a tree for growth, or a star for ambition. Draw these symbols on the shield.
Colors: Select colors that have specific meanings in heraldry. Use these colors to fill in your symbols and the shield.
Divisions: Consider dividing the shield into sections using lines. Each section can represent different aspects of your personality or interests.
Add Details:
Crest: Add a crest above the shield if desired. This can be an additional symbol or decoration that complements the coat of arms.
Supporters: Draw any supporters that might stand beside the shield. These are figures or animals that hold up or support the shield.
Motto: Write a motto at the bottom or top of the shield that represents your personal values or goals.
Finalize and Display:
Outline your design with a black marker or pen to make it stand out.
Color in your coat of arms with the chosen colors. Allow any paint or markers to dry completely.
Display the finished coat of arms in the classroom or take it home as a personal keepsake.
Reflection and Discussion:
Have students present their coats of arms to the class, explaining the symbolism and choices they made.
Discuss the different elements of each design and how they reflect the students’ personalities.