Plataforma de Educação Humanizada

Torne-se Membro

Creating and Using a Rock Testing Kit

Disciplina: Ciências
Ano escolar: 3.º ano | 4.º ano
Tipo de Recurso:
Tags:

Materials Required:

Streak plate (unglazed porcelain tile)
Magnet
Vinegar
Pipette or eye dropper
Scale
Magnifying glass
Copper penny
Steel knife, washer, or piece of glass (like a microscope slide)
Quartz (for comparison)
Rocks for testing
Notebook and pencil for recording observations
Steps Involved:

Introduce the Rock Testing Kit: Explain the purpose of each tool in the rock testing kit and how it helps in identifying and classifying rocks.
Observe and Record Color: Have students observe and record the color of each rock. Discuss how color can help in initial identification and classification.
Test Luster: Ask students to determine if the rock has a metallic or non-metallic luster. They should note their observations and discuss how this can narrow down the type of rock.
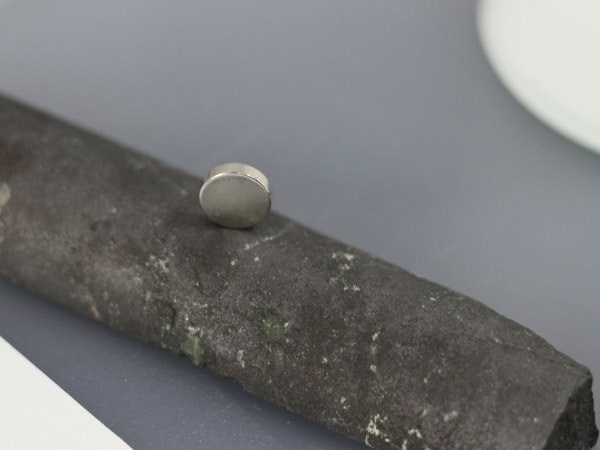
Test Magnetism: Using a magnet, have students test if the rock is magnetic. If the magnet sticks to the rock, it likely contains magnetite or other magnetic minerals. Record the results.
Test Reaction to Vinegar: Using a pipette or eye dropper, apply a few drops of vinegar to the rock. Observe if there is any reaction (bubbling or fizzing). This test helps identify carbonate minerals. Record any reactions.
Measure Weight: Use a scale to weigh each rock. Record the weight, which can be useful for further classification and comparison.
Examine Texture: Use the magnifying glass to examine the texture of the rock. Note if it is smooth, rough, bumpy, pointy, or rounded. Compare the texture to known rocks, such as sandstone if it feels like sandpaper.
Perform Additional Tests: Use the steel knife, washer, or piece of glass to scratch the rock. Record whether the rock can be scratched easily or if it is hard. Compare this with the hardness of quartz.
Compare Results: Compare the results from different tests to identify the rock. Use the observations to classify the rock and understand its properties.
Review and Discuss: Have students present their findings, discuss the different properties of the rocks they tested, and reflect on how each tool contributed to their understanding of rock identification.

pt_PTPortuguese