Large pieces of cardboard
Scissors
Glue stick or liquid glue
Paints or markers
Brushes (if using paint)
Ruler
String or yarn (for handle)
Tape (optional, for extra security)
Introduction:
Discuss the historical significance of shields in the Middle Ages, including their use in battle and the symbolism of coats of arms.
Cut Out the Shield:
Shape: Use a ruler to draw the shape of a shield on the cardboard. Common shapes include a kite or heater shield.
Cutting: Carefully cut out the shield shape from the cardboard using scissors.
Create the Handle:
Cut a strip of cardboard to make a handle. Attach it to the back of the shield using glue or tape. Ensure the handle is large enough for students to comfortably hold.
Decorate the Shield:
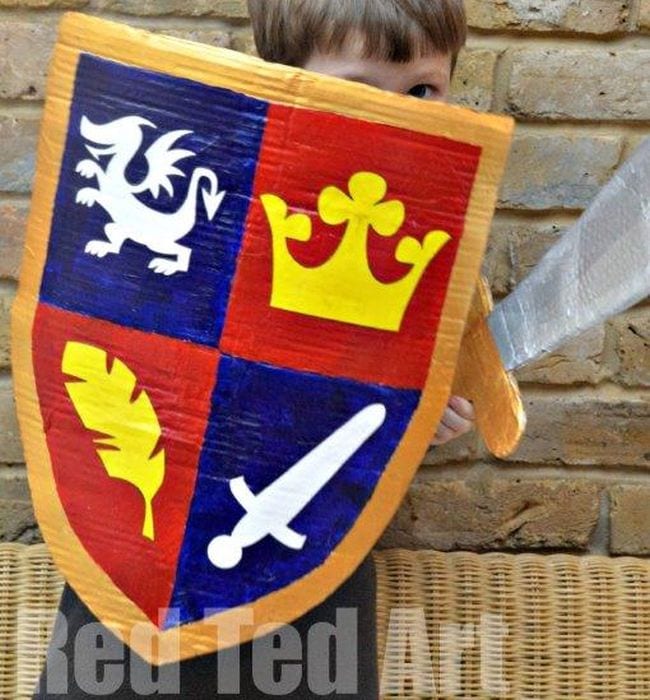
Design: Have students design their own coat of arms. They can use symbols, colors, and patterns to represent their personal or family emblem.
Painting and Coloring: Use paints or markers to decorate the front of the shield with their coat of arms. Allow any paint to dry completely.
Add Final Touches:
For added durability, reinforce the handle with tape or additional glue if needed.
Ensure all decorations are securely attached and dried before handling.
Reflect and Play:
Encourage students to discuss their designs and the significance of their chosen symbols.
Engage in role-playing or medieval-themed activities using the shields and any other props (e.g., swords) created.

