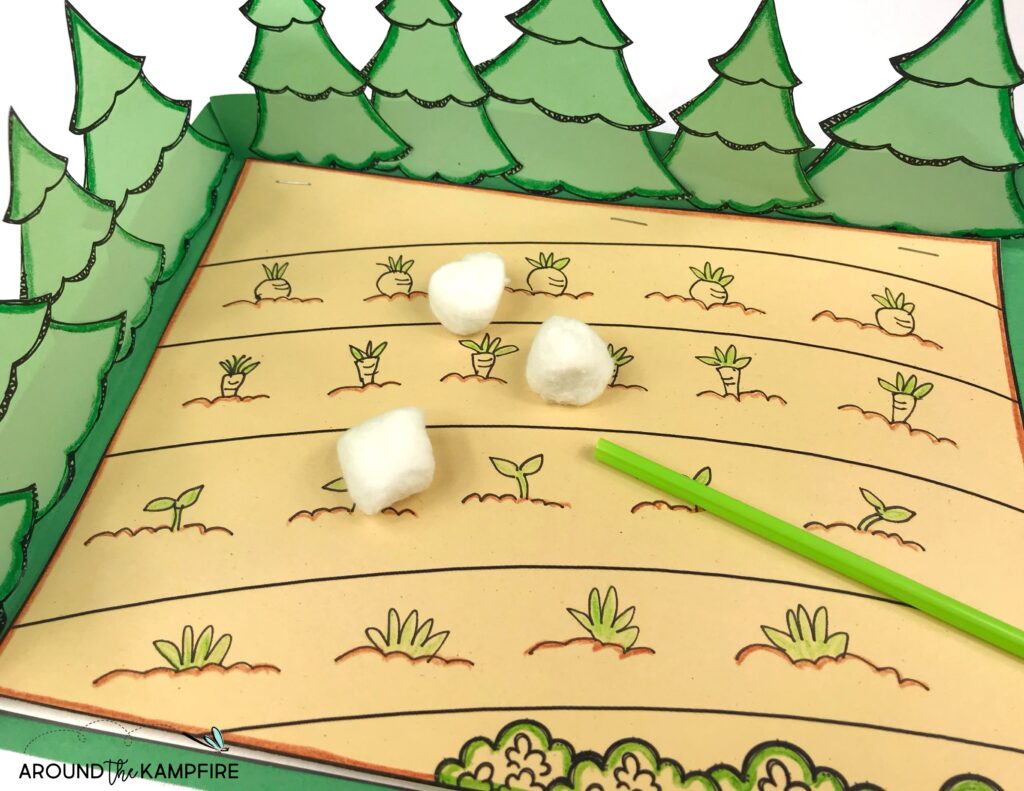
Paper (for making paper trees)
Cotton balls (to simulate soil)
Straws (to simulate wind)
Lab sheets (for drawing designs and explaining considerations)
Scissors
Glue or tape
Optional: Small trays or containers (for setting up the model)
Preparation:
Provide materials for creating the windbreak models.
Distribute lab sheets for students to draw their designs and record their observations.
Introduction:
Discuss the concept of wind erosion and its effects on crop fields.
Explain how windbreaks (e.g., trees and shrubs) can protect fields from wind erosion by blocking and slowing down the wind.
Designing the Windbreak:
Planning:
Instruct students to consider wind direction and any nearby structures that could also block wind when designing their windbreak.
Creating the Windbreak:
Students use paper trees, cotton balls, and straws to build their windbreak models.
Position the cotton balls on a tray or container to represent the crop field.
Use the straws to simulate wind by blowing across the cotton balls.
Arrange the paper trees or other materials to act as the windbreak.
Testing and Observing:
Simulation:
Test the effectiveness of each windbreak design by blowing air through the straws and observing how well the windbreak prevents soil (cotton balls) from being moved.
Record observations about how the windbreak affects the movement of the soil and whether it effectively reduces wind erosion.
Documenting and Explaining:
Lab Sheets:
Students use lab sheets to draw a diagram of their windbreak design.
They write explanations of their design choices, including considerations like wind direction and the impact of nearby structures.
Conclusion:
Review the windbreak models and discuss which designs were most effective in preventing wind erosion.
Highlight the importance of windbreaks in protecting soil and crops from wind damage.
Extension:
Explore real-world examples of windbreaks used in agriculture.
Discuss additional methods for preventing wind erosion, such as conservation tillage and ground cover.

