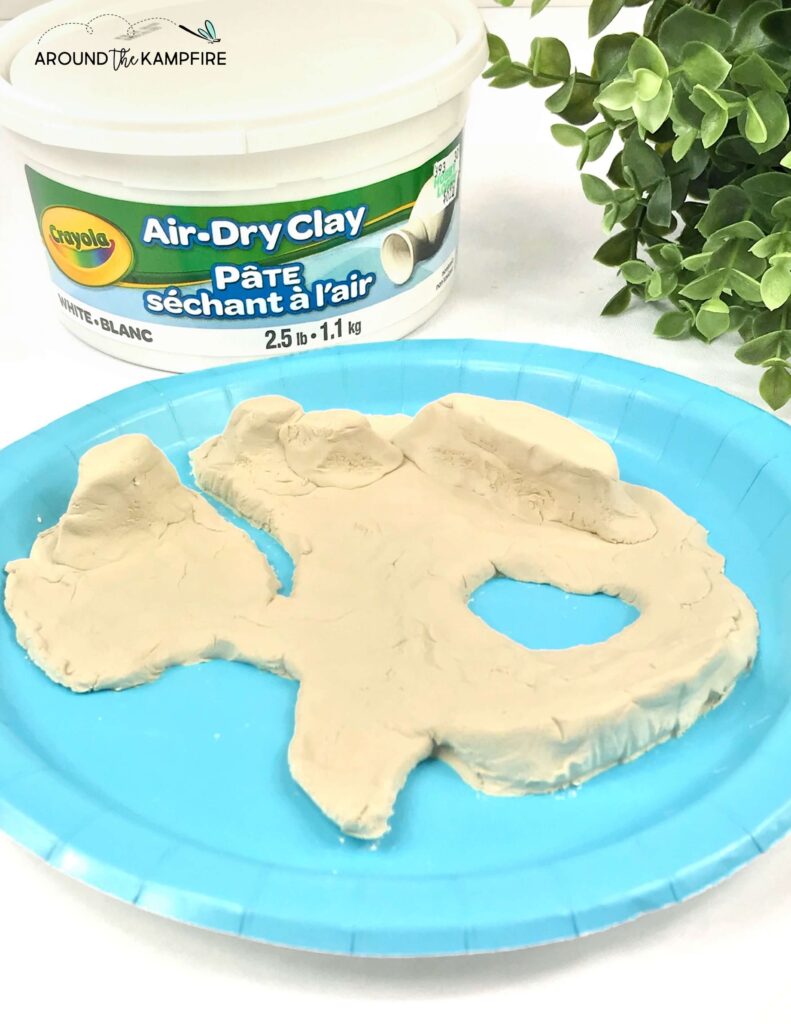
Salt dough or Crayola Air Dry Clay
Blue paper plates (for the base of the island)
Tempra or acrylic paint
Paintbrushes
Measuring tools (rulers or tape measures)
Drawing paper (for making maps)
Pencils or markers
Preparation:
Gather materials including salt dough or clay, blue paper plates, paint, and brushes.
Set up a workspace where students can work on their landform islands and let them dry.
Creating the Landform Islands:
Modeling:
Distribute salt dough or Crayola Air Dry Clay to each student.
Instruct students to shape their clay or dough into an island with various landforms (e.g., mountains, valleys, hills) and bodies of water (e.g., lakes, rivers).
Drying:
Allow the landform islands to dry over the weekend or as directed by the materials’ instructions.
Painting and Decorating:
Painting:
Once dry, students paint their landform islands using Tempra or acrylic paint, adding details to represent different landforms and water features.
Additional Decoration:
Encourage students to add details such as vegetation, buildings, or other features to enhance their islands.
Making Maps and Measuring Distances:
Map Creation:
Students create a map of their island on drawing paper, showing the various landforms and water bodies.
Students label the different features on their maps.
Measuring Distances:
Have students use rulers or tape measures to measure distances between different landforms or points on their islands. They can record these distances on their maps.
Conclusion:
Review the completed landform islands and maps with the class.
Discuss the different landforms and features each student included and how they represented them on their maps.
Allow students to share their islands and maps with their peers, explaining their design choices and measurements.
Extension:
Introduce additional elements such as creating a legend for their maps or exploring geographical terms related to their landforms.
Challenge students to create a story or description about their island and its features.

