Scissors
Pencil
Ruler
Different colored pieces of card
Double-sided tape
Pieces of foam or thick pieces of cardboard
A ready-made plain card
Black card (for camel silhouette)
Silver card (for star)
Optional: Stamp and ink (for additional embellishments)
Preparation:
Measure and note the dimensions of the ready-made plain card.
Decide the height of the “sand” layer on the card and prepare various colored pieces of card accordingly.
Creating the Sand Layer:
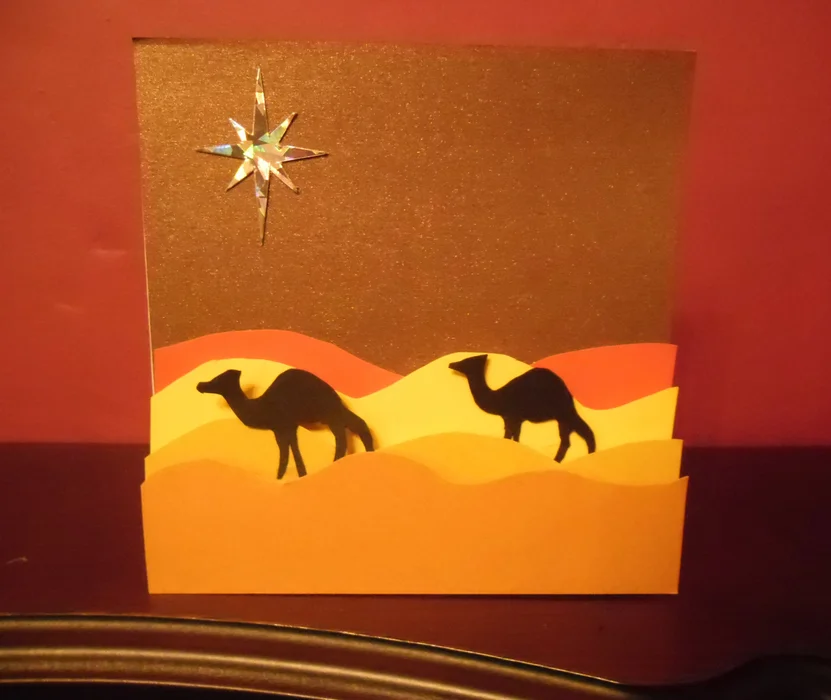
Use a ruler and pencil to measure and draw the sand layer shapes on the colored card. Ensure that the heights of the sand layers are staggered for a more natural look.
Cut out the sand shapes from the colored card.
Preparing the Camel Silhouette:
Trace or draw a camel silhouette onto a piece of black card.
Carefully cut out the camel shape.
Assembling the Card:
Stick the camel silhouette onto one of the sand layers using double-sided tape. Ensure the tape is hidden under the sand layers that will be placed in front of it.
To create a 3-D effect, stick foam squares together (two squares for added thickness). Attach these foam squares to the back of each sand layer piece.
Place the sand layers on top of each other, with the tallest pieces at the back, and adjust their positions as needed.
Once satisfied with the placement, use glue or double-sided tape to secure the sand layers to the ready-made card, making sure to layer them properly.
Final Touches:
Cut a piece of dark-colored card or paper the same size as the front of the ready-made card and stick it down as the background.
Stick the 3-D sand and camel layers onto this background.
Cut out a star from silver card and attach it to the background. Optionally, use a stamp and ink to add additional stars or temple/houses for more embellishment.
Conclusion:
Review the completed cards with the class, discussing the layering technique and the artistic choices made.
Encourage students to share their designs and explain the elements they included.

