Large sheets of paper or cardstock
Colored pencils, markers, or paints
Gold or silver markers (for metallic effects)
Ruler
Pencil
Eraser
Optional: Decorative materials like stickers, glitter, or sequins
Introduction:
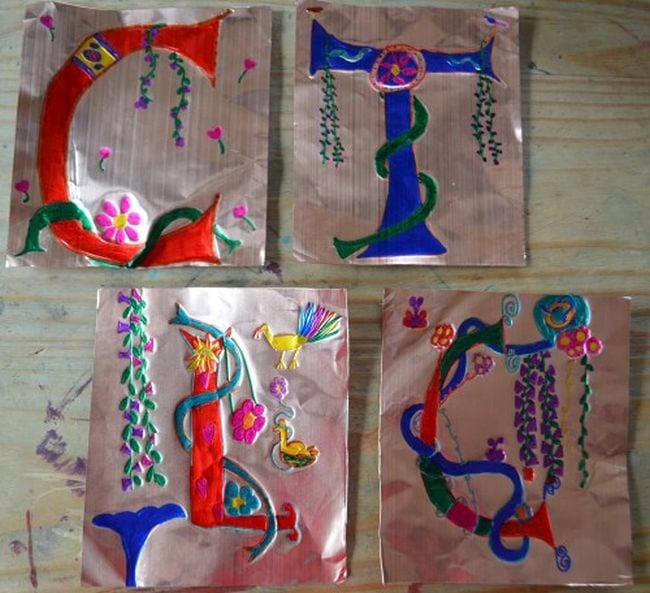
Explain the concept of illuminated manuscripts and their historical significance. Show examples of medieval illuminated letters to illustrate the use of intricate designs, bright colors, and gold leaf.
Choose an Initial:
Have each student choose the initial of their first name or another letter they would like to decorate.
Sketch the Initial:
Use a pencil to lightly sketch the chosen initial on a sheet of paper or cardstock. Make sure the letter is large enough to decorate with detail.
Design and Decorate:
Border and Patterns: Create a decorative border around the initial, inspired by medieval patterns. Use a ruler to help make straight lines and symmetrical designs.
Coloring: Fill in the initial and border with bright colors, using colored pencils, markers, or paints. Incorporate patterns or symbols that add personal meaning or follow medieval styles.
Metallic Touches: Add gold or silver details to highlight sections of the initial or border, mimicking the appearance of gold leaf in illuminated manuscripts.
Optional Embellishments: Enhance the design with stickers, glitter, or sequins to add texture and shine.
Finalize the Artwork:
Once the design is complete and any paint or glue is dry, outline the initial and patterns with a black marker to make the details stand out.
Display and Reflect:
Have students share their illuminated initials with the class. Discuss the design choices and techniques used, as well as the historical context of illuminated manuscripts.
Reflect on the process and how it helped students connect with medieval art and design.